Make Ahead Overnight Cinnamon Rolls - Perfect for Christmas Morning

We all want Christmas morning to be magical. Making beautiful memories takes a great deal of effort, but if you can take one thing off of your to-do list that morning, it could make all of the difference in how you enjoy the magic with your family. Check out these heavenly overnight cinnamon rolls sure to bring extra cheer on Christmas morning.

Overnight Cinnamon Rolls

Soft yummy rolls, brown sugar cinnamon filling, and ooey gooey cream cheese frosting. You can’t go wrong!

Prep: 35 mins | Cook Time: 15 mins | Rise: 12 hrs | Total Time: 12 hrs, 50 mins

The Dough

1 ¼ cups warm milk

¼ oz package active dry yeast

1 large egg

½ cup granulated sugar

½ butter, melted

1 teaspoon salt

4 cups all purpose flour 

In a small bowl add milk, yeast, and 1 tablespoon of sugar. Let this sit for about 5 minutes until it gets bubbly. In a large bowl, whisk the egg, then add the sugar and salt, melted butter, and then the yeast mixture. Add two cups of flour at first and stir until the entire mixture is smooth. Add the remaining flour in small portions. Knead for 5 minutes, or use a standing mixer with the dough hook attachment. The dough should turn out soft. You can always add more flour one tablespoon at a time. 

Put the dough back into a bowl and cover with a towel. Find a warm spot to set the bowl and allow the dough to rise. Wait for the dough to double in size. 

Cover a flat surface with flour and press the dough down into it. Roll it out to form a rectangle.

The Filling

6 tablespoons butter, softened

¾ cup brown sugar

1 ½ tablespoons ground cinnamon

Mix brown sugar and cinnamon in a small bowl. Spread softened butter over your rolled out dough, then sprinkle the brown sugar mixture on top, pressing gently into the butter. Roll the dough up tightly and gently press the ends together. 

Next, cut the dough into 1 inch slices. This will make approximately 12 large cinnamon rolls. Line a baking sheet with parchment paper and place the rolls about 1 inch apart. Cover your pan and refrigerate overnight (up to 16 hours). 


In the Morning

Take your cinnamon rolls out of the refrigerator and let them sit on the countertop until they’ve doubled in size. This could take 1-2 hours. Bake at 350 degrees for 15 minutes. Allow to cool for about 10 minutes before adding the frosting.

The Frosting

6 tablespoons salted butter, softened

2 ounces of cream cheese softened

1 ½ cups powdered sugar

1 teaspoon vanilla extract

Milk or heavy cream as needed

In a large bowl, beat together all ingredients. Add milk to reach the consistency you desire. Use a spatula to spread over your cooled cinnamon rolls.

Enjoy these scrumptious cinnamon rolls, and extra time with your family on Christmas morning!

How to Style a Coffee Table for Christmas

By now most of us have our Christmas decorations up around the house in full force.  We’ve dressed the mantle and the Christmas tree, we’ve put out our holiday tea towels and soaps, and our house has that festive glow. But what about the coffee table? Coffee tables often get overlooked, but the perfect amount of decor on a coffee table can be a simple, elegant holiday accessory to your already beautiful home.

To bring everything together on a coffee table, it's a great idea to begin with a tray. This helps to keep your coffee table still functioning day to day, and also looking festive. Choose something rustic and natural looking. This isn’t your centerpiece, rather a way to contain smaller items in one place. This could be a tiered tray for height, a wooden tray with a holiday themed shape, or simply a wooden round. 

Adding different pieces that come together to create a theme is an art. You can get creative by bringing elements of nature inside. Whether faux or natural, try some pine boughs and berries to use as a blanket on the bottom of your tray or in a vase for height. Add elements of different sizes and textures, such as vases, candle sticks, and holiday themed sculptures such as deer or evergreens. A glass or wire bowl filled with pine cones, greens, or small round ornaments gives a nice holiday touch. To warm it up and create a sensory experience, add candles.

The holiday season is all about what makes you happy. Your home should be filled with decor that brings joy and evokes happy thoughts and memories. There's been a long standing debate on how much decor is “too much,” but we think it’s all about what makes you happy. If your coffee table needs a little holiday upgrade, don’t be afraid to go for it!


Warm Up with Your Very Own Hot Cocoa Bar

The Wisconsin cold is coming, and once it arrives it will be here to stay! A warm drink is the perfect way to beat the winter chill. Setting up a DIY hot cocoa bar to have available for your family, or for your next gathering, is a surefire way to warm everyone up! Not only will it be a hit with guests, it also looks super chic and cozy as decor.

What You Need

The best hot cocoa bars have plenty of toppings to choose from. You can choose to make your bar as extravagant or as simple as you prefer, but at least three toppings will make it feel luxurious. Some ideas for toppings include mini marshmallows, sprinkles, whipped cream, and chocolate and caramel syrup. 

Stir sticks are another luxurious touch to add. Candy canes, or peppermint sticks are a quick and easy option. You can also create stir sticks using skewers with large marshmallows decorated to look like snowmen, or popsicle sticks dipped in melted chocolate and sprinkles.

Don’t forget festive paper straws!

Of course the star of the show is the hot cocoa itself. There are many great recipes out there, but my favorite is this simple slow cooker recipe. It makes a large batch, perfect for a party!

Putting it Together

Choose a counter space that is easily accessible and out of the way of any cooking you’ll be doing. A shallow dough bowl, or a long wooden crate works well for holding your toppings in different sized mason jars. You can fancy up the jars by putting ribbon or twine around them, and getting some cute labels to mark what is in each jar. 

Set up your toppings, straws, and stir sticks next to your slow cooker. Choose your favorite winter mugs to line up on your counter space for easy access. If you have the space, some chic signage that reads “Hot Cocoa Bar” is the perfect finishing touch.

Enjoy this sweet, warm drink on these upcoming chilly winter days!


Easy Holiday Sangria

Easy Holiday Sangria

Sangria is such a classic option to have available at a holiday gathering. You can dress it up in so many different ways to match the vibe of your party. You can even mix in a batch of non alcoholic sangria to ensure everyone can enjoy this sweet treat! If the thought of adding a signature drink sounds awesome, but you’re worried you can’t fit it in after the decorating, the baking, the cooking and the planning, this easy holiday sangria is for you!

Ingredients

1 Apple

1 C Cranberries

3 Cinnamon Sticks

4 Star Anise

4 C Apple Cider

2 C Ginger Ale

2 C White Wine

Instructions

This recipe is seriously so simple! The only prep work is cutting up your apple. You can cut it into thin slices or cube like shapes depending on your preference. You can use any kind of apple, but a classic tart red apple like a honeycrisp is my favorite. 

Next, pour all of your ingredients into a cute glass pitcher and stir gently. Cranberries, cinnamon sticks, and star anise can go into the pitcher as well.

From the pitcher, pour your sangria into stemless wine glasses, or mason jars if you’re feeling extra festive! You can add a cinnamon stick, star anise, and some cranberries to each glass for a little extra flavor and garnish. 

Tips, Tricks, and Alternatives

I like to keep all of my liquid ingredients chilled before making the sangria, and then keep the finished pitcher chilled until I’m ready to serve. You can even make ice cubes from the ginger ale or apple cider if you want to keep your sangria extra chilled!

You can use apple juice instead of apple cider if that is what you have. A really fun option is to get a small cookie cutter in a fun shape such as a star to cut your apples into.

Crisp, fresh white wines work best in this sangria. Pinot Grigio and Sauvignon Blanc are great choices. If you’re opting for non alcoholic, simply substitute your favorite non alcoholic sparkling wine.

This sangria will be the star of your next party!


December Self Care Challenge

The holiday season can be so magical. Creating that magic can leave us feeling drained physically and mentally. I’ve often heard people say how important self care is and I’ve rolled my eyes. If I only had all of the time in the world to make everything perfect for my family in every way, there still wouldn’t be enough time for self care. I’ve come to realize that if I don’t take even the tiniest bit of time for myself every once in a while, all of the magic I'm creating comes at the cost of my own sanity. No one likes a grouchy mom! This December, I hope you’ll join me in taking just a little time to create some magic for yourself! 

What is Self Care?

There are different types of self care, but really it can be defined as taking control of your health in the major areas of life. This can include taking care of your physical body and your emotional and spiritual mind.

Why is Self Care Important?

By practicing self care daily, you can reduce stress in your life significantly, and in turn, increase your productivity. Self care is one of those things that takes a little time, but hopefully ends up making you some time in the long run.

Practicing Self Care in the Busiest of Seasons

December is often the busiest time of the year, with the shopping, and the hosting, and attending all of the gatherings. It can be especially difficult to stop and spend some time making sure you’ve taken care of your body and mind, but this is the time when it is most important. Here are four tips to make time for yourself.

Get into a Routine

Whether it is waking up just a few minutes before your family, or taking some time for yourself over your lunch break, decide what works best for you and stick to it. Choose at least three days per week when you want to find a little time for yourself, and schedule it in. This might change from week to week as your schedule changes, so make sure to plan it out at the beginning of each week.

Choose Realistic Self Care Activities

Set yourself up for success by starting small. We often want to jump into a new routine and are shortly overwhelmed by the effort it takes just to change our habits. If you’re really busy, take short amounts of time to do simple activities, like reading motivating quotes or journaling for a few minutes per day. 

Do Something You Like

Self care is only about you. We often think we have to fit into a box of what other people think and do, but truly, self care is just for you. Don’t get caught up in trends or “typical” self care ideas. Do what fits your needs physically and mentally.

Mix it Up

Remember self care is about your mind and body. Maybe you want to choose physical activities a couple days a week, and then add in some days where you just focus on your mental health. If you get stuck in a routine where you’re bored, or dread doing the same thing each day, it will become just another item on your to do list and not something you look forward to.

If you’re like me, this will be something you have to remind yourself to do daily, and you’ll have to move through the guilt you feel in taking this time for yourself. Remember, your loved ones only benefit from a healthier, happier version of you! Check out our printable December Self Care Challenge!


Cranberry Pecan Baked Brie

Every fancy party has equally fancy appetizers.  The key to a good appetizer is finding one that looks intricate, but is really simple to make and serve.  This dramatic, gooey, melty, baked brie appetizer hits all the marks!

Ingredients

Toasted Pecans

100% Pure Maple Syrup

8 oz. wheel of Brie Cheese

Lime

Butter

Cranberries (fresh or frozen)

Rosemary (fresh or dry)

Salt and Pepper

Bake the Brie

The first step in this appetizer is to get the brie baking.  You’ll want to line a sheet pan with parchment for an easy transfer to your serving dish later on.  Do not remove the rind of the brie when baking. Bake at 350 degrees and check at 12 minutes. If the brie is done it will be jiggly when you touch the top of the rind. Allow 15 minutes to cool.

Cranberry Pecan Mixture

While the brie is baking you can make the cranberry pecan mixture.  Bring together cranberries, maple syrup, pecans, butter, rosemary, salt and pepper in a small to medium saucepan. Bring to a boil, then simmer until the mixture becomes syrupy, about 7 minutes.  Remove from heat and mix in the lime juice.

1 cup cranberries

1 tbsp butter

2 tsp chopped rosemary

¼ cup chopped toasted pecans

¼ tsp salt

¼ tsp pepper

1 tsp lime juice

Serve

When the brie is finished baking, carefully transfer from the parchment to a serving dish.  Then top with your cranberry pecan mixture.  You can add extra pecans to the top, and some rosemary sprigs for garnish!

This dish is best served with hearty crackers or apple slices.  Bonus points for warm baguette crackers!

Four Ways to Style a Dough Bowl

Dough bowls are popular as home decor, but they used to be functional for making -you guessed it-  dough. Ingredients were combined and kneaded right in the bowl, and then covered with a cloth and left to rise. Traditionally dough bowls have been wooden for better fermentation of the yeast, but they do come in different materials.

There are many different shapes and sizes of dough bowls. Long, rectangular dough bowls can easily become the centerpiece for your tablescape, while smaller, circular dough bowls make attractive accent pieces. You can keep a dough bowl out year round and fill it with different seasonal objects to keep your home decor fresh and festive. Check out these four ideas for spicing up your dough bowls this fall.

Idea One - Elements of Nature

Pumpkins are the perfect fit for contrasting colors in wooden dough bowls for fall. Place your different sized mini pumpkins at visually appealing angles depending on the size and shape of your dough bowl. During the holiday season you can add different faux greenery, pine cones, ornaments, leaves, bells or berries for different pops of color. Fill in all of the gaps and you’ll have a simple, yet elegant centerpiece perfect for holiday gatherings.

Idea Two - Height and Texture

If you have a shallow dough bowl you can add height by choosing a grouping of pillar candles in various sizes. Surround your candles with smaller pumpkins or ornaments and faux greenery that falls over the edges of the bowl. 

Idea Three - Decorative Objects

A dough bowl can be filled with almost anything, so why not find something that makes your heart happy? Beaded tassels, small lanterns, and vases are all stylish options to add appeal to a dough bowl. You can arrange one or more of these objects inside your bowl for a simple chic look.

Idea Four - Eclectic

Mixing and matching nature, texture, and decorative objects can result in a stunning display. Play around with faux greenery and pumpkins, maybe a rustic lantern, and some beaded tassels spilling over the edges of your bowl. Maybe you prefer a vase with seasonal berries and greenery, or a large pillar or container candle. Stick with a color pallet to anchor your look and you’ll have a knockout display you won’t be able to keep your eyes off of!

Dough bowls can be simple or dramatic and it’s all up to you to decide the aesthetic you’re going for!

An Elegant Fall Tablescape in Three Easy Steps

A tablescape is a way to create an atmosphere in any room. Technically a tablescape can be done on any table, in any room, but in the spirit of family gatherings this holiday season, let’s focus on the dining room table.

Image By: Fourhands

ONE - Commit to a Color Palette

This important first step sets the mood for your room. When choosing a color palette, you’ll want to keep in mind the colors nearby, especially if your home is open concept and the spaces all flow together. Two anchoring colors will keep your tablescape focused and not too busy. You can always add different shades of your anchor colors and a few splashes of coordinating colors in some of the pieces you choose to decorate with. Once you’ve chosen colors, try to commit to them so that your tablescape doesn’t become too busy and distracting.

Traditional fall color pallets including shades of oranges, reds, browns, and gold are always a winning combination, but fall can be a fun time to play around with nontraditional color pallets as well.  Navy, sage green, grays, and creme colors can be a great twist on a fall palette.  

TWO - Choose a Grounding Piece

A grounding piece will be the foundation on which you build your tablescape. This piece should be the bottom layer of your decor. This could be a table runner, a long wooden serving board, or an extra large dough bowl. Why not try a tartan blanket, or burlap fabric runner? Neutral tones and natural textures work best for a grounding piece, as you can layer color throughout your tablescape in other ways. 

Image By: Fourhands

THREE - Add Height and Dimension 

The last step to creating a fall tablescape to portray the atmosphere you hope to achieve, is where you get to be the most artistic and creative. You’ll want to choose decor in varying heights, such as rustic candlesticks and vases filled with faux fall foliage.  You can even use risers of different heights to display your decor, but be careful not to choose items that are too bulky and will block your guests' view of each other. If you’ve chosen a dough bowl, fill it with fall staples such as pumpkins and gourds of varying sizes, colors, and styles, pine cones, and fall foliage. 

Image By: Fourhands

Don’t forget your place settings! One very simple way to transform your tablescape without purchasing all new dishes is to choose seasonal salad plates or soup bowls to add to your existing dishes. One seasonal dish, paired with a beautifully folded cloth napkin at each place setting can make a big difference in the atmosphere of your tablescape. If you want to add height to your place settings try a charming wooden charger at each spot!

Let these simple steps be your inspiration to create a beautiful fall tablescape for your family and friends to enjoy this holiday season.  

Last Minute Sweetest Day Gift Ideas

With the busy fall season ramping up, you might find yourself pretty swamped with activities. Sweetest Day always creeps on me, but it doesn’t mean I love my sweethearts any less! If you’re in need of some last minute gifts for the ones you love, we’ve got you covered!

Self Care

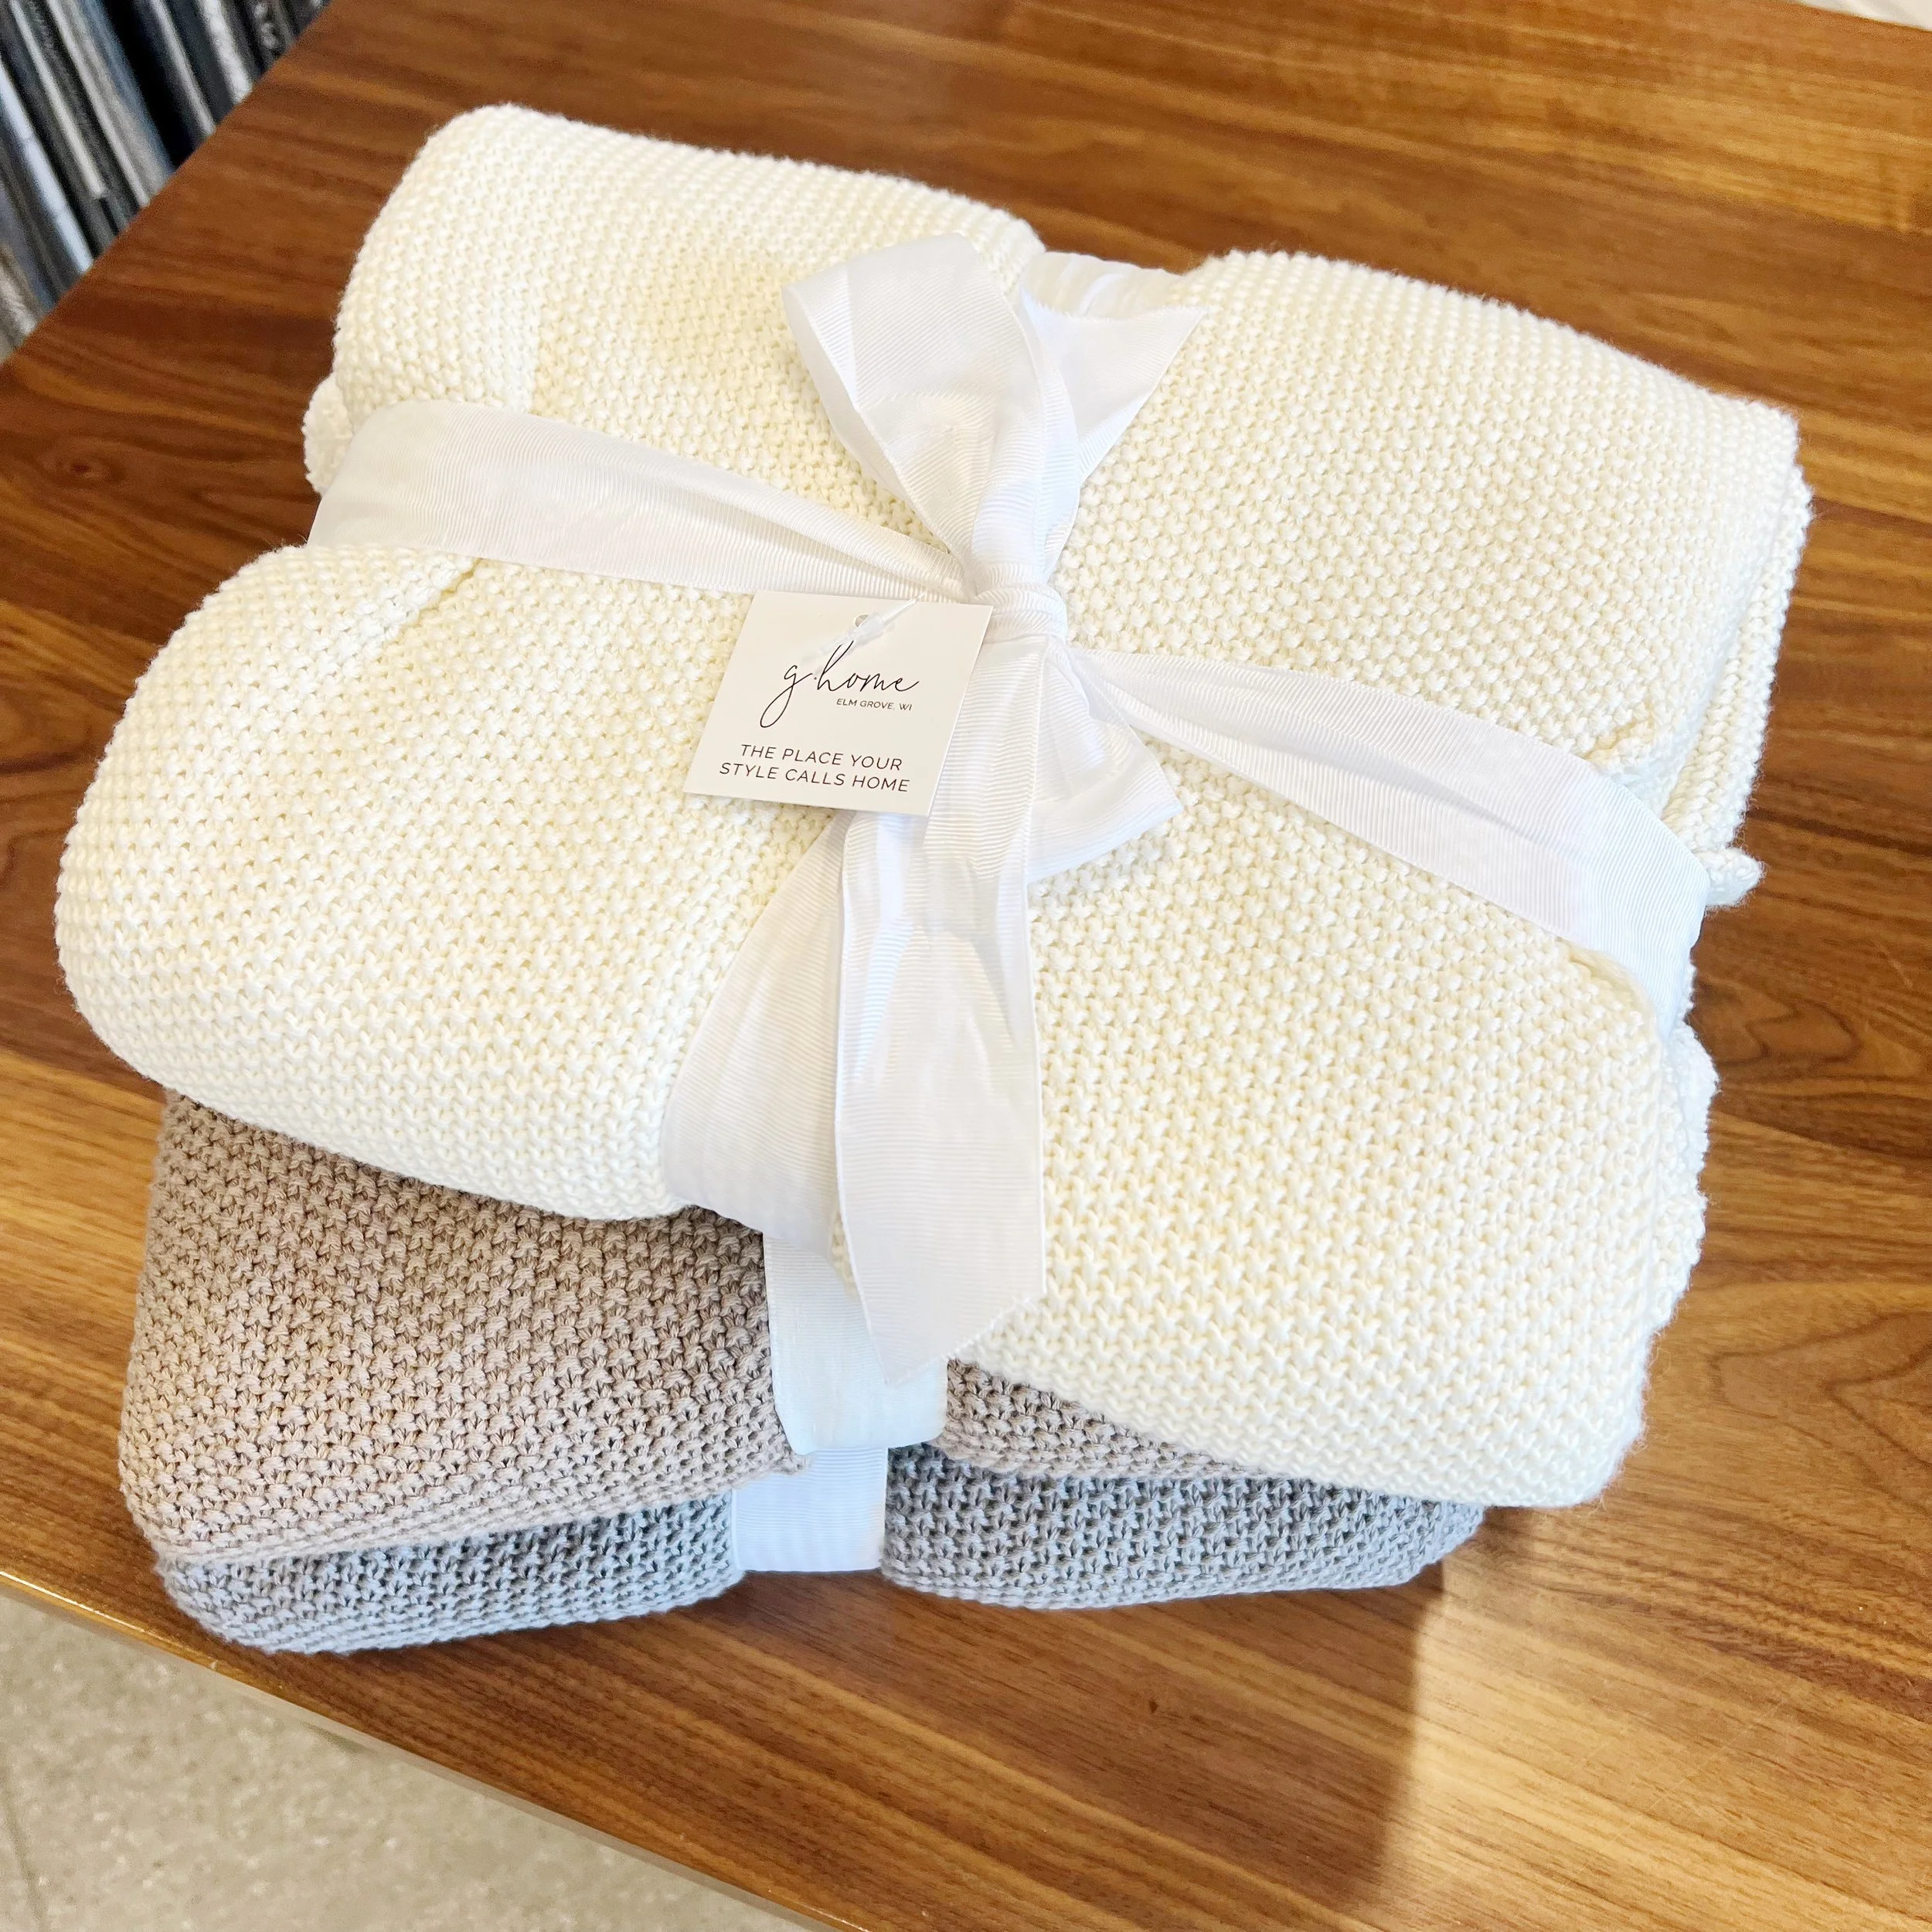
Give the gift of relaxation this Sweetest Day, and encourage your loved one to take some time for themselves. Try our stylish candles, diffusers, and hand + body lotions to set the tone for requiescence. Journaling notebooks are perfect for those who enjoy reflection, and paired with a cozy new throw blanket, your loved one will be warm, relaxed, and ready to find inner peace.

Hostess with the Mostest

Does your sweetheart love to host a fabulous party? Why not gift her with some fresh accessories to make her next event spectacular? Our wide variety of stylish and fun kitchen towels are sure to liven the party. Stunning serving platters, charcuterie boards, and vases round out the essentials for a festive occasion.

Movie Night

Do you want to share a movie night this Sweetest Day with someone you love? A few extras can make this gesture just a little more special. We have the coziest blankets and pillows for cuddling up by the fire, and why not try a fun cocktail book for inspiration for the perfect drink to enjoy during your movie?

Last minute can still be thoughtful! Stop in to see what you can find to surprise your loved ones this Sweetest Day!